Caddy
简介
Caddy 是一款功能强大,扩展性高的 Web 服务器,目前在 Github 上已有40K+Star。Caddy 采用 Go 语言编写,可用于静态资源托管和反向代理。
Caddy 有着一下特性
- 相比于 Nginx 复杂的配置,Caddy 的配置文件
Caddyfile配置简单 - 自动申请安全证书实现
https go语言编写性能和内存安全有保证
安装
docker
- 下载镜像
docker pull caddy- 之后使用如下命令启动 caddy 服务,这里将宿主机上的
Caddyfile配置文件、Caddy 的数据目录和网站目录挂载到了容器中
docker run -p 80:80 -p 443:443 --name caddy \
    -v /mydata/caddy/Caddyfile:/etc/caddy/Caddyfile \
    -v /mydata/caddy/data:/data \
    -v /mydata/caddy/html:/usr/share/caddy \
-d caddy- 之后使用
docker exec进入caddy容器内部执行命令
docker exec -it caddy /bin/shlinux
二进制安装
使用 wget 命令去下载 caddy 的二进制安装包,官网链接,根据自己的系统自行下载
wget https://github.com/caddyserver/caddy/releases/download/v2.5.1/caddy_2.5.1_linux_amd64.tar.gz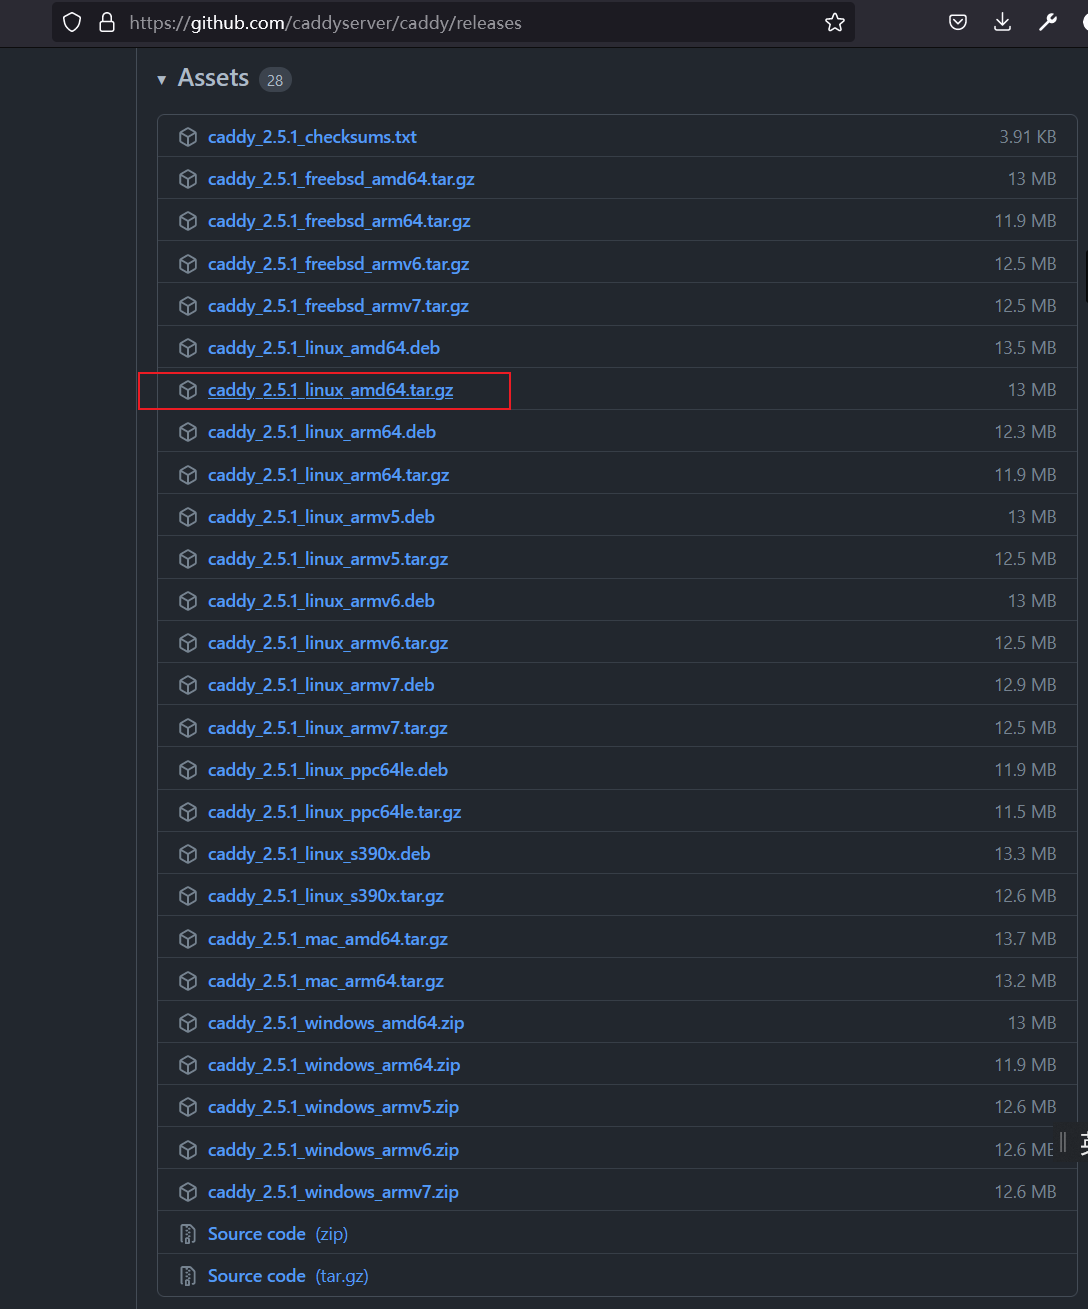
下载完成后使用 tar zxvf 命令解压缩文件,解压完成后的 caddy 文件就是可执行文件
tar zxvf caddy_2.5.1_linux_amd64.tar.gz配置软连接,将命令映射到全局使用
ln -s /root/Caddy/caddy /usr/sbin/caddy # 前面为应用的目录,后面为系统的路径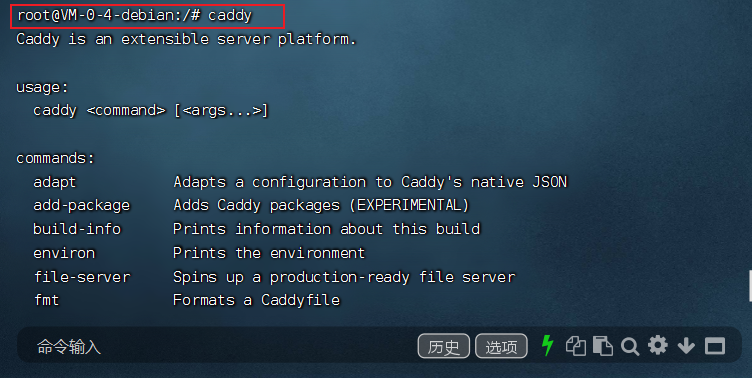
现在命令全局可用了,已经安装完成
直接安装
默认将 caddy 作为 systemd 服务运行
sudo apt install -y debian-keyring debian-archive-keyring apt-transport-https
curl -1sLf 'https://dl.cloudsmith.io/public/caddy/stable/gpg.key' | sudo gpg --dearmor -o /usr/share/keyrings/caddy-stable-archive-keyring.gpg
curl -1sLf 'https://dl.cloudsmith.io/public/caddy/stable/debian.deb.txt' | sudo tee /etc/apt/sources.list.d/caddy-stable.list
sudo apt update
sudo apt install caddy
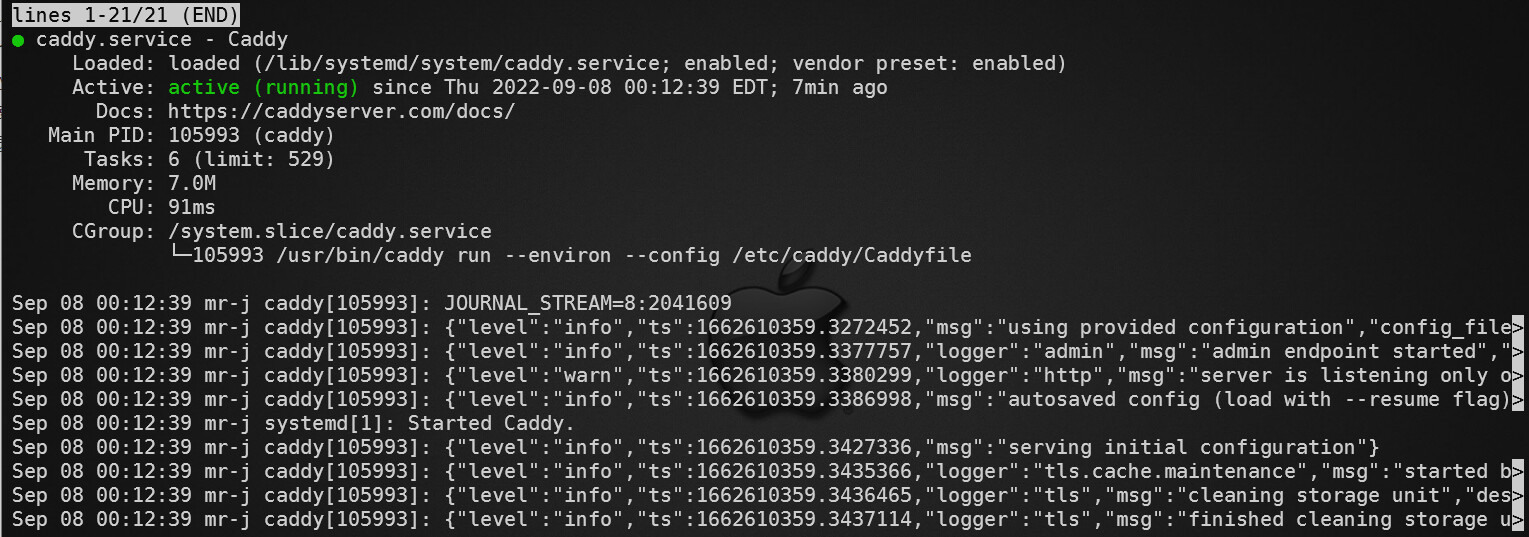
安装成功后,通过 systemctl status caddy 查看 caddy 的状态,发现 caddy 已经被注册为系统服务
windows
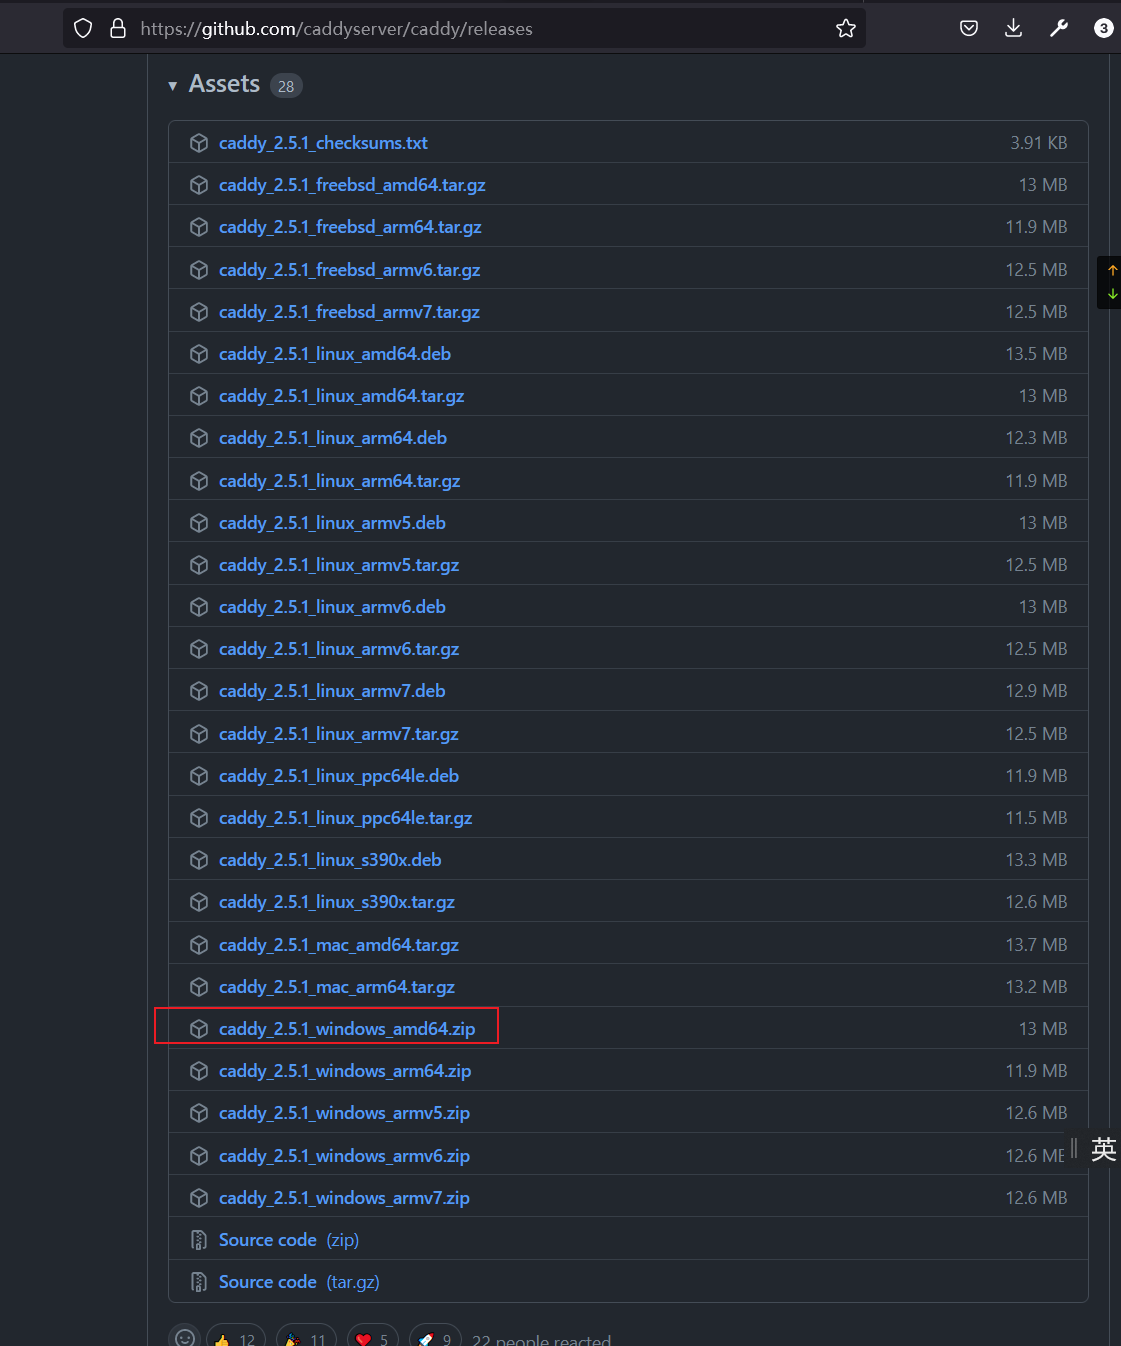
下载完成解压到自己指定的目录
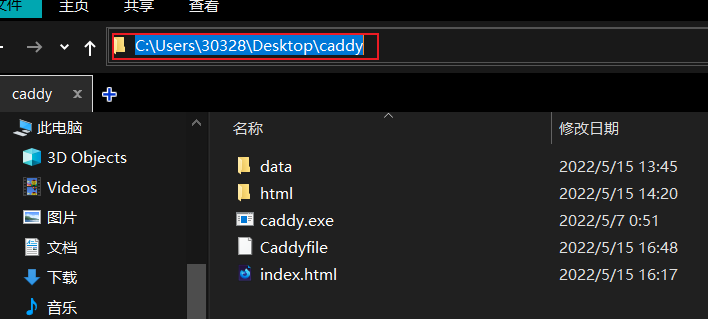
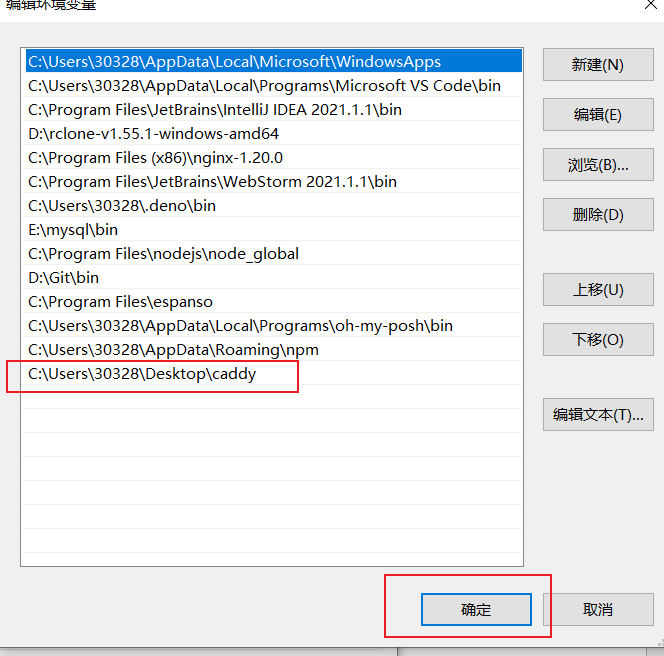
将该路径添加到环境变量中
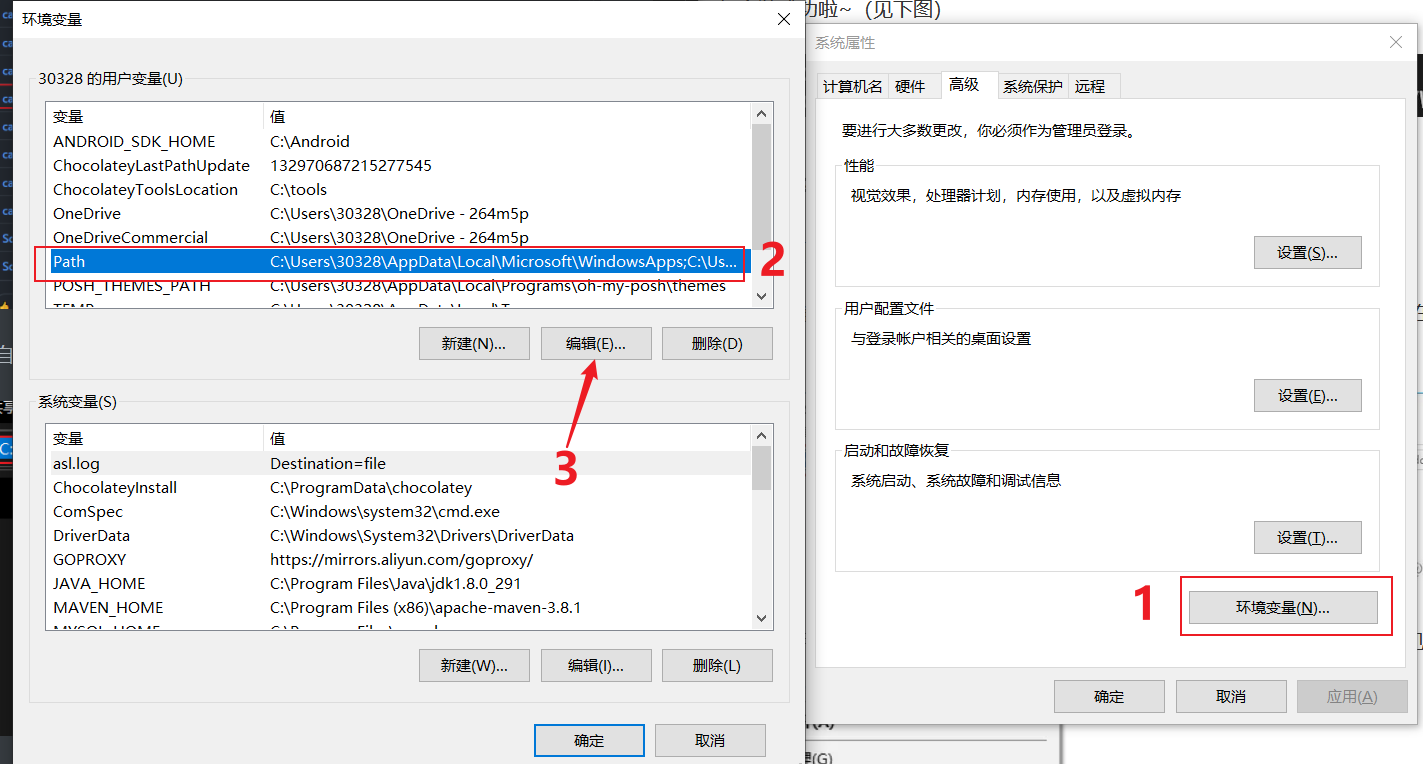
添加完毕后点击保存
此时在全局都能使用 caddy 命令了,我们来测试一下
❯ caddy
Caddy is an extensible server platform.

usage:
  caddy <command> [<args...>]

commands:
  adapt           Adapts a configuration to Caddy's native JSON
  add-package     Adds Caddy packages (EXPERIMENTAL)
  build-info      Prints information about this build
  environ         Prints the environment
  file-server     Spins up a production-ready file server
  fmt             Formats a Caddyfile
  hash-password   Hashes a password and writes base64
  help            Shows help for a Caddy subcommand
  list-modules    Lists the installed Caddy modules
  reload          Changes the config of the running Caddy instance
  remove-package  Removes Caddy packages (EXPERIMENTAL)
  reverse-proxy   A quick and production-ready reverse proxy
  run             Starts the Caddy process and blocks indefinitely
  start           Starts the Caddy process in the background and then returns
  stop            Gracefully stops a started Caddy process
  trust           Installs a CA certificate into local trust stores
  untrust         Untrusts a locally-trusted CA certificate
  upgrade         Upgrade Caddy (EXPERIMENTAL)
  validate        Tests whether a configuration file is valid
  version         Prints the version

Use 'caddy help <command>' for more information about a command.

Full documentation is available at:
https://caddyserver.com/docs/command-line基本路径
作为系统服务安装好后,需要注意以下几个点
# 默认的网站页面路径在
/var/www/html
# 默认的Caddyfile 配置文件在
/etc/caddy/Caddyfile
每次重新更改 Caddyfile 文件后都需要重新加载配置文件使用命令 systemctl reload caddy
然后就可以按照自己配置的路径访问网站了
- 通过自带的
Admin Api查看当前的配置文件
curl localhost:2019/config/Caddyfile 文件配置
# 直接访问端口
:96 {
  root * /root/html/one # 静态文件夹下的根目录,内部文件需要为index.html
  file_server	# 开启静态文件服务器
}

# 直接访问端口
:100 {
  respond "I am 8080"
}

# 子域名,实现反向代理
one.mr-j.xyz {
  encode gzip
  root * /root/html/two
  file_server
}

# 重定向
baidu.mr-j.xyz {	# 拦截所有该条url的访问请求,进行内部逻辑处理
  redir https://baidu.com
}
反向代理
当请求服务器资源的时候,
http服务器(这里就是 caddy)根据自己的请求,进行转发可以转发到静态资源路径,也有可能转发到动态的服务端口上去。
基本使用
每次重写配置文件以后,需要重新加载配置文件,注意:执行命令的时候需要在 caddy file 文件所在目录
caddy reload配置文件Caddyfile 如果文件格式有问题,会有以下警告
root@VM-0-4-debian:~/Caddy# caddy reload
2022/05/15 10:14:16.382 INFO    using adjacent Caddyfile
2022/05/15 10:14:16.383 WARN    Caddyfile input is not formatted; run the 'caddy fmt' command to fix inconsistencies     {"adapter": "caddyfile", "file": "Caddyfile", "line": 4}
此时使用 caddy fmt --overwrite 重新格式化配置文件即可解决
按目录划分路由
有时候需要使用同一个域名来访问不同的前端项目,这时候就需要用到子目录来区分不同的项目了
mr-j.com/admin		# 访问后台项目
mr-j.com/app		# 访问前台项目
mr-j.com # 访问api文档项目需要修改Caddyfile 文件,使用 route 指定路由,修改后重新加载配置文件即可
http://www.mr-j.com {
  route /admin/* {
    uri strip_prefix /admin
    file_server {
      root /mydata/caddy/html/admin
    }
  }

  route /app/* {
    uri strip_prefix /app
    file_server {
      root /mydata/caddy/html/app
    }
  }

  file_server * {
    root /mydata/caddy/html/www
  }
}优质教程
https://segmentfault.com/a/1190000022733237